Posted on

Choosing an Observing Chair for Longer Backyard Astronomy Sessions

Choosing an Observing Chair for Longer Backyard Astronomy Sessions

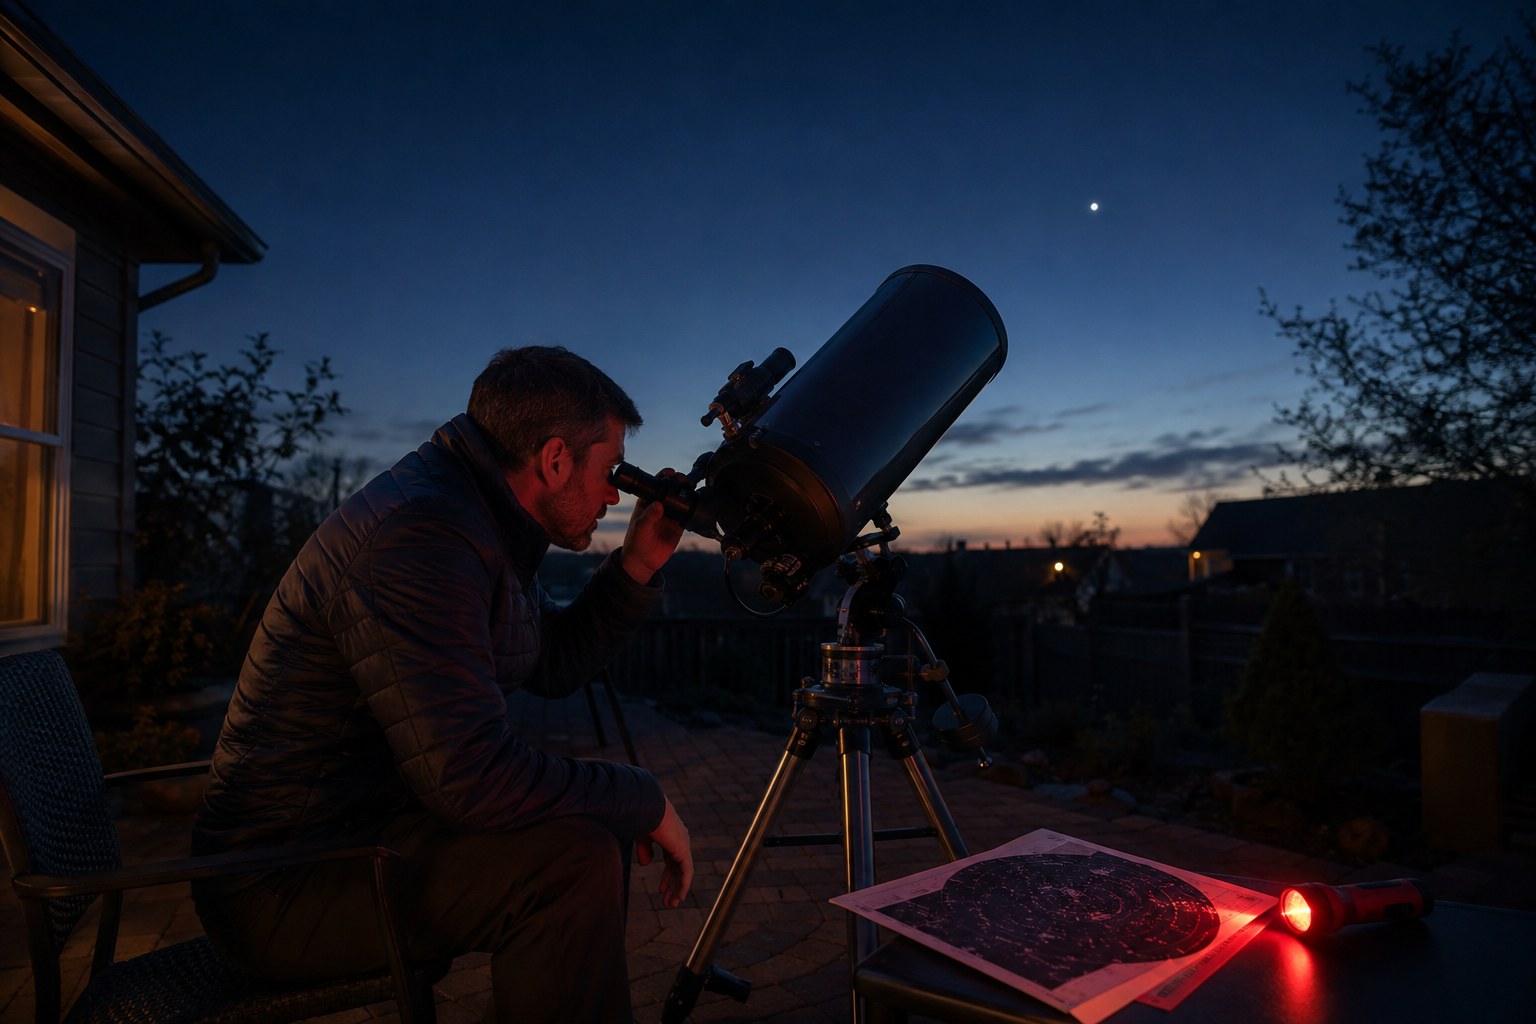
When we say 'comfortable' in observing we are not talking about pumping up the seat with extra soft padding. A comfortable observing seat for long sessions is one which allows us to support our backs adequately but also allow us to turn freely. Some observers find that a backrest of modest dimensions is all they require. Others prefer a totally open design which allows for easy movement to and fro as we observe in comfort.

Match the seat to your observing position

Before buying, test the chair with your telescope at the different viewing heights. A Refractor may sit on the ground with the eyepiece at about waist height, a Reflector may have the eyepiece at hip height or a little above, a Spotting Scope will have the eyepiece at about eye level and a Telephone Tube Telescope at about shoulder height.

Useful astronomy chairs can be adjusted to different heights without having to be taken down and reassembled. This allows for easier use when following a list of objects to be viewed, or when using different magnifications to view the same object. Adjustable seats need to have a wide enough range of adjustment, and the means to make the adjustment needs to be quick to use in the dark, and to lock the seat at the chosen height.

Before you look for the chair, test out different observing positions. These are the different ways you sit at your telescope to look at objects of different heights in the sky. A good astronomy chair will let you change height quickly without having to break your setup, so test out different positions and see how much you have to move around. Can you sit or stand and look through the eyepiece?

Stability matters more than extra padding

It's possible that soft cushioning may feel good in a short shop test but does not translate into a stable seat. Look for a seat that has a wide enough base to sit steady on rough ground and be able to withstand your weight. Small movement is distracting when trying to view through an eyepiece and thus must be avoided at all costs.

Look for a chair with stable feet on the surface where you will use it. This could be grass, gravel, tarmac, or even a pavement or deck. A chair with very small feet could sink into soft ground. Chairs with very smooth feet could slip on hard surfaces. And if the legs of a chair are not exactly the same height then the seat could tilt or even fall.

While sitting slowly on the seat with your full weight test for any clicking or creaking, also check all joints, fasteners and lock points for any signs of wear or movement. Even though these signs don't necessarily mean that the item will fail, it is wise to inspect them before using the item to support your delicate telescope equipment.

Make adjustments simple in the dark

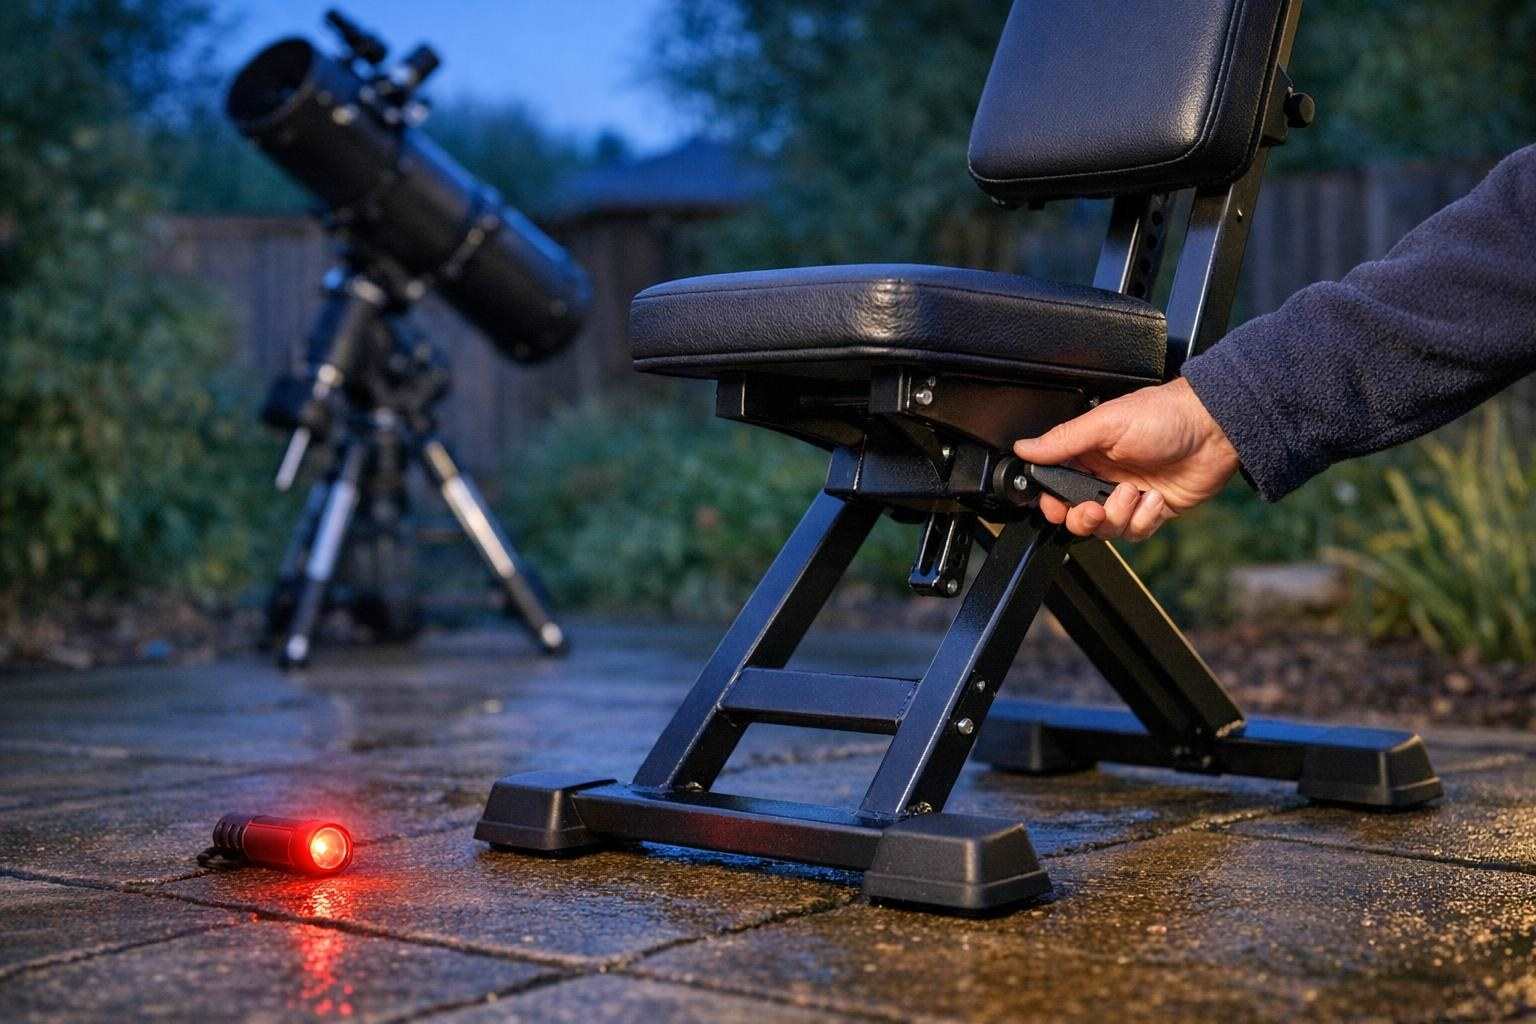
Night time astronomy involves lots of different actions with your telescope. You may wear gloves, have to use red lights and want to avoid banging the tripod. Therefore, a simple turn of a knob to make some height adjustments needs to be easily located by touch in the dark. Furthermore, it should be clear when it has been released from its locked position.

Before selecting a model check for easily located controls that can be operated by touch and provide obvious confirmation of operation. Check that lock release mechanisms provide a positive operation (i.e. do not release accidentally) and do not have an 'unexpected free fall' when unlocked. Also test that the locking action holds securely at all heights and does not require excessive force to lock and unlock.

Test out a chair at different heights before a long observing session to make sure the frame remains level, the locks open and close properly and the chair moves up and down smoothly. Don't attempt to use piles of books, wobbly boxes etc to raise up to viewing height. They may seem like a good temporary solution but are a huge risk and are not worth it for a small convenience.

Inspect wear before it becomes a problem

These items can be damaged by damp grass and other outdoor items that are left to sit on the seat of your chair after you have gone inside for the night. Even when stored indoors, chairs can pick up dust, and undergo changes in temperature and humidity. So occasionally wipe down your chair with a dry cloth and then store it dried. Also check for grit and other dirt in any moving parts.

Be able to spot common defects: split or worn seats, stretched stitching, bent tubes, loose rivets, cracked plastic parts, corroded fasteners, a locking pin that no longer fits properly, play in the frame, a seat leg that no longer sits properly on the ground. Don't assume minor defects are of no consequence – they can deteriorate rapidly.

Be sure to follow any care or repair recommendations from the manufacturer. For example, lubricants can attract dirt and make a problem worse than good, and some finishes or fabrics can be damaged by certain liquids. If in doubt as to the function of a part, or the best way to repair it, it's generally better to seek the advice of a qualified person and then replace the part as necessary rather than risk damage by attempting to repair it yourself.

Choose comfort that supports concentration

When choosing an observing seat for stargazing comfort the observer needs to feel supported enough in order to remain seated for long periods, and yet have enough room to easily get up in order to adjust a tripod for example, change an eyepiece etc. Some observers prefer the support of a modest back rest, others prefer to have plenty of room to sit in an open configuration in order to easily get up and about when needed.

In fact much outdoor clothing is bulky and means that what seems like a good seat in shops can feel very different in practice. And cotton, or similar material seats, will feel very cold and uncomfortable if they get wet in damp or wet conditions. A removable seat cover would seem to be a good idea, but it needs to be made of material that can be easily cleaned and dried and must not be left against the frame when wet.

We consider a number of aspects in choosing an Observing Chair. As we are often moving them around the yard, we consider weight and folded size. Sometimes the Chair will be situated close to the Telescope, so we consider quick adjustment and storage protection of the Chair. Cables, cases and tripod legs should be kept clear of the sitting area and observers should have room to stand with their feet back without getting tangled up in any of the equipment.

Know when to replace rather than repair

Your observing chair should receive the same sort of preventative checks as any of your other telescope accessories. Check the feet, the frame, the seat's attachment to the frame and the height lock for your seat before each long observing session. Problems with your chair can reveal themselves quickly when the telescope is on the ground and it is still light outside.

Just because you can fix something does not mean you should. If the component in question is load-bearing, there are no repair instructions available, or you would end up altering the original design or structure in the process of fixing it, it's time to look for a good replacement.

The best observing seat is the one that allows you to sit comfortably with good posture while making sure your movements are predictable. It should be used around the position of your telescope, tested on the surface where you intend to use it and warning signs of wear and tear taken seriously.
Posted on

How to Verify Telescope Mount Stability Before You Blame the Optics

How to Verify Telescope Mount Stability Before You Blame the Optics

Ensuring Telescope Mount Stability: Key Steps Before Blaming Optics

A image through your telescope can quickly turn frustrating when it wobbles at the touch or when tracking a moving celestial body. Than dismissing the quality take the time to investigate the stability of the mount and other components. Establishing the source of instability can prevent upgrades. Here's how to identify the root cause of your telescopes movement.

Distinguishing Between Shake and Alignment Issues

To begin assess how long it takes for the image to stabilize after touching the focuser. Gently tap the focuser then remove your hand and observe the image. You're looking for patterns, in the movement-does it bounce, sway or vibrate before settling?

Once you have this baseline change the angle of your telescope. A tripod might feel steady when fully closed. Once adjusted to angles it can reveal weaknesses. A lower target might expose flex in the mount that high angles hide.

If the focus seems soft followed by vibrations that settle after removing contact then your issue lies with the mount-or potentially the alignment-rather than the eyepiece quality.

Identifying the Vulnerable Links

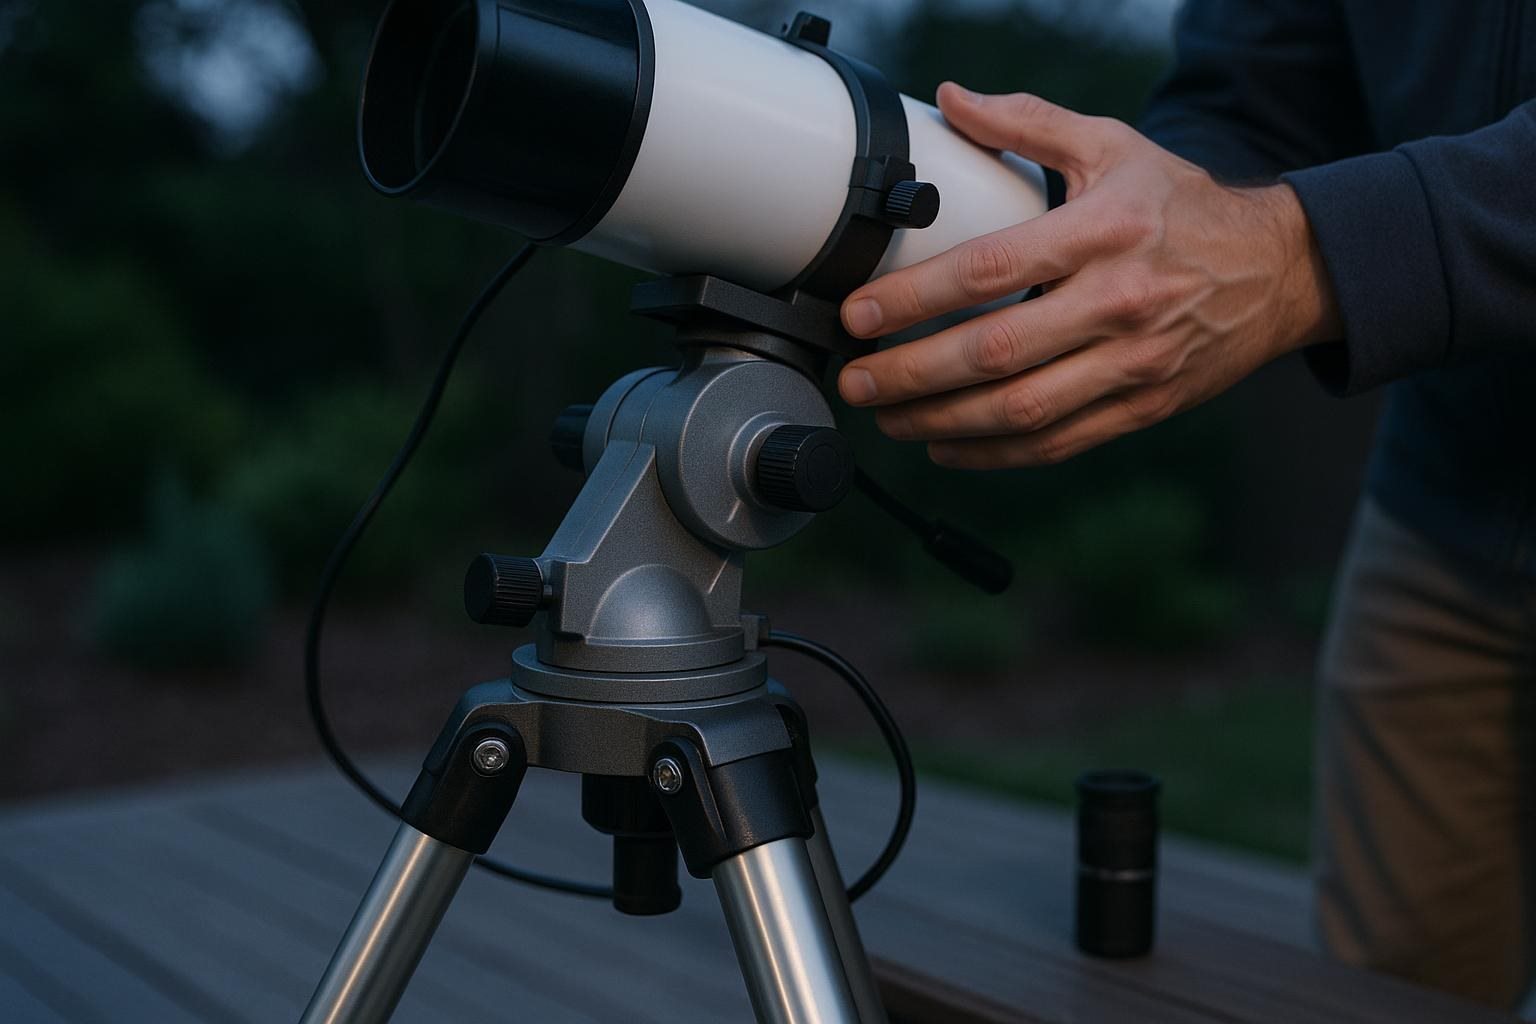
Think of your stability as a chain, where every link matters: the tripod feet, the leg locks, the spreader and the mount head all need to be fitted. Inspect each component carefully. Sometimes a loose clamp or knob could mistakenly signal a tripod.

With the telescope firmly supported, apply side pressure to the tube. You don't need to exert force; enough to see if there's any movement. Monitor if the wobble originates from the legs the mount head or the connections related to the tube. Having an additional pair of eyes can help here; you could record a video from the side to diagnose the problem accurately.

Tightening up is a starting point. Don't go overboard. Over-tightening can cause damage. Yield a sense of security. Instead be sure to lock mechanisms. If tools are required they should be used as per manufacturer guidelines.

Testing Balance Before Tracking Performance

Before jumping to conclusions about the tracking performance check for balance. A mounted telescope must be adequately balanced to facilitate movement. When using a mount make sure all components-including the eyepiece or camera-are attached during this test.

With power off and the mount secured, engage the clutch according to the instructions. Avoid letting the tube and counterweight swing instead move them in adjustments. Depending on the load and configuration a slight imbalance might be beneficial so refer to your manual for guidance.

Signs of imbalance include motion or noises that suggest stress on the motor. If the mount is straining, best to recalibrate by reducing load and ensuring no cables interfere with movements.

Verifying Tracking Accuracy with a Steady Target

Before engaging at magnifications ascertain if your mount can track a target effectively. During daylight center a fixed object. Monitor its movement as you disengage tracking. This allows you to confirm that the telescope is aligned and that any movement isn't just due to components.

If utilizing tracking adhere to the mounts calibration procedures carefully. Record your settings. Ensure the tripod is level. Change variables one at a time-this will help isolate the cause of any tracking issues. Relying on a test can be misleading; set up accurately each time to discern issues from inaccurate setups.

Additionally keep your expectations clear. When observing visually minor adjustments are acceptable. For astrophotography you'll need stringent tracking. A mount suitable for viewing might not suffice for long-exposure imaging.

Using Your Findings for Equipment Comparison

When considering a telescope or mount incorporate the stability of the mount into your decision-making process. Ask yourself: What objects will you focus on? How frequently will you transport the setup? Will you require tracking. Can you manage without it? Keep in mind that while lighter mounts are easier to carry they can also be more responsive to disturbances whereas sturdier models may be less portable but offer stability.

To aid in your evaluation compile a checklist during comparisons. When inspecting second-hand equipment:
– Does the support stabilise quickly after touching the focuser?
– Are all locking mechanisms secure after adjustments?
– Does the mount maintain stability at various heights and angles?
– Can it balance the actual load without forcing the mechanical parts?
– Is the tracking operation smooth, free from cable entanglements?
– Is the mount appropriate, for the type of work you intend to do?

Remember, don't rely on specifications. While load capacity ratings are useful they rarely indicate how a mount will perform in practice. If a mount fails your stability tests pinpoint the issue of outright dismissing the telescope. Often enhancing support optimizing accessory weight or simply adjusting your observing goals may yield the results you need without an overhaul of your equipment.

Posted on

Clarity, Field of View and Eye Relief: What Matters in Real Conditions: The Details That Matter Most

telescopereview org 01

A planned observing session can unravel over a small mismatch: the view is sharp in the center but cramped at the edges, a target drifts away before you can study it, or glasses keep your eye too far from the eyepiece. The solution is not automatically a more expensive optic. Identify the compromise causing the trouble, then check it under the conditions in which you actually observe. That makes eyepiece selection more useful than chasing isolated specifications.

Start with the observing problem, not the eyepiece label

An eyepiece changes the telescope's magnification, the amount of sky visible, and the position from which your eye can comfortably see the full image. These effects interact. High power may reveal fine detail, but it also makes hand-guided tracking harder and exaggerates mount vibration. Lower power is easier to acquire and follow, yet a small target may remain too small to examine properly.

Describe the failure in plain terms. Are you losing the object while centering it? Is detail visible only during brief moments of steady air? Does the view look sharp until you move your eye slightly? Do you need glasses because of astigmatism, or simply prefer to keep them on? Each answer points to a different priority.

The useful question is not "Which eyepiece is best?" but "Which limitation do I need to remove first?"

Clarity has more than one meaning

Telescope eyepiece clarity involves several qualities. Center sharpness concerns detail where you place the target. Edge performance concerns how well stars and other points remain defined away from the center. Contrast affects how easily faint structure separates from the background. Scatter and glare can make bright objects uncomfortable even when the central image appears focused.

Atmospheric steadiness can hide these differences. On a turbulent night, stars shimmer and planetary detail comes and goes, so changing eyepieces repeatedly can produce false conclusions. Let the telescope reach outdoor temperature, focus carefully, and compare views of the same target without changing several variables at once. If possible, use a bright star to check focus and edge behavior, then a more demanding target to assess contrast and detail.

Check your own eye position as well. A black crescent, kidney-shaped shadow, or sudden loss of the image when your head moves slightly may indicate an eye-placement issue rather than poor optical sharpness. Some designs are more forgiving than others, especially at shorter focal lengths.

Field of view is a working feature

Field of view affects how easily you find, frame, and follow an object. A wider apparent field can make a moving target feel less urgent because more sky remains around it. It can also help with large star fields, extended nebulae, and targets that are difficult to locate at high magnification.

The widest view is not automatically preferable. Wider designs may be heavier, more expensive, or less forgiving of off-axis alignment in a particular telescope. If the mount does not track, a generous view can be genuinely useful. On a tracking mount, the benefit may be less about keeping an object centered and more about composition and orientation.

Think about the true patch of sky visible through the telescope, not just the apparent-field number in a catalogue. Magnification, eyepiece design, and the telescope's focal length work together. For planning, remember that increasing magnification reduces the sky shown, while a wider apparent field can offset some of that loss. Exact results depend on the instrument and eyepiece, so verify the combination rather than assuming a label tells the whole story.

Eye relief decides whether viewing is comfortable

Eye relief is the usable distance between the eyepiece and the position your eye needs for the full field to appear. Too little can force glasses wearers to press close or remove their glasses. Too much can make the view sensitive to small head movements unless the eyecup and positioning are well controlled.

If you observe with glasses, treat eye relief as a practical requirement, not a luxury. Catalogue figures may be measured in ways that do not represent the comfortable distance available with the eyecup raised, so look for independent measurements or test the eyepiece when possible. Glasses thickness, frame shape, and prescription also affect the result.

Without glasses, shorter eye relief is not automatically a problem. Some observers prefer a close, stable position; others find longer relief easier during extended sessions, particularly in cold weather or when sharing the telescope. Choose the option that lets you see the whole field without hovering tensely over the ocular.

A simple verification routine before committing

When comparing eyepieces, use the same telescope, target, diagonal, and observing conditions. Change one eyepiece at a time, refocus each, and give your eye a moment to settle. Do not judge only the first impression; comfort and ease of use become clearer after several minutes.

Use this checklist:

– Can you acquire the target without excessive searching?
– Is the center sharp after careful focusing?
– Does the edge matter for your intended targets and mount?
– Can you see the full field while wearing your usual glasses?
– Does the view remain stable when you move your head slightly?
– Is the size and weight sensible for your focuser and balance?
– Does the magnification suit the night's steadiness and your tracking method?

Consider the whole observing chain. A heavy eyepiece may shift balance. High power may expose flaws in alignment or mount stability. A narrow field may be perfectly workable for a centered, tracked planet but frustrating for manually locating a faint object.

Eyepiece selection is therefore conditional. Choose the combination that matches your targets, mount, eyesight, and patience, then verify it under real observing conditions. Specifications narrow the options; your ability to focus, frame, and comfortably hold the view determines whether the choice works.

Posted on

Finding Planets with a Telescope

Finding Planets with a Telescope

If you’re an amateur astronomer with a telescope, you might be wondering if it’s possible to use your telescope to find planets. The answer is yes! Here’s a quick guide on how to find planets using a telescope.

There are two main methods that you can use to find planets with a telescope: the star hop method and the blink method.

The star hop method is the most common way to find planets. To use this method, you’ll first need to identify a bright star near the planet you want to find. Once you’ve found a bright star, center it in your telescope’s eyepiece and then use the setting circles on your telescope to find the planet. Once you’ve found the planet, it will appear as a small dot in your eyepiece.

The blink method is best used for finding faint planets like Uranus and Neptune. To use this method, you’ll need to take two pictures of the same section of sky using your telescope, with a short exposure time for each picture. Then, view the two pictures side by side and look for any object that appears in one picture but not the other. This object is likely the planet you’re looking for!

With a little bit of practice, anyone can learn how to find planets using a telescope. So get out there and start exploring the night sky!

Posted on

How the Telescope Changed the Way We See the Universe

How the Telescope Changed the Way We See the Universe

For centuries, humans have gazed at the night sky in wonder, trying to make sense of the stars and planets shining overhead. In 1609, that all changed when Galileo Galilei pointed a telescope at the heavens and discovered that there was much more to see than the naked eye could ever reveal. In the 400 years since then, the telescope has evolved into one of the most important scientific tools we have, helping us to unlock the mysteries of the universe.

The First Telescope

Galileo was not the first person to build a telescope—in fact, he was not even the first person to point one at the night sky—but he was the first to realize its potential for observing and understanding our place in the cosmos. Up until that point, telescopes had been used mainly for terrestrial applications like navigation at sea. Galileo recognized that if a telescope could make things appear closer on Earth, perhaps it could also be used to see distant objects in space.

He set about building his own telescope, using a convex lens for the eyepiece and a concave lens for the objective. Galileo’s modest instrument magnified objects 20 times, but it was enough to allow him to make some groundbreaking discoveries. He observed sunspots on our nearest star, discovered that Venus goes through phases like our own Moon, and found four moons orbiting Jupiter—the first planets beyond Earth ever discovered. In doing so, he forever changed our perception of our place in the universe.

Telescopes Today

The telescopes of today are vastly more powerful than anything Galileo could have dreamed of. Thanks to advances in optics and technology, we now have telescopes that can detect objects billions of light-years away and capture images with an incredible level of detail. Our biggest telescopes have resolutions measured in milliarcseconds—that’s thousandths of an arcsecond! To put that into perspective, if you were looking at someone standing on Mars through one of these telescopes, you would be able to resolve features as small as a dinner plate from billions of kilometers away.

Conclusion

From its humble beginnings 400 years ago, the telescope has evolved into one of humankind’s most important tools for understanding our place in the universe. From Galileo’s crude early instrument to today’s massive ground-based observatories andspace-based satellites, this simple device has allowed us to unlock countless secrets about our solar system, our galaxy, and even the distant reaches of space and time. Who knows what new discoveries await us in the centuries to come?

Posted on

How to Use a Telescope for Beginners

A telescope is an instrument that uses lenses or mirrors to collect and focus light from distant objects in order to magnify them. The three main components of a telescope are the objective lens or mirror, which collects and focuses the light; the eyepiece, through which the user views the image; and the mount, which holds the telescope in place.

There are two types of telescopes: refracting telescopes, which use lenses to gather and focus light, and reflecting telescopes, which use mirrors. Refracting telescopes are further divided into two categories: those with achromatic lenses, which correct for chromatic aberration (an imperfection in the lens that results in an inability to focus all colors to a single point), and those with apochromatic lenses, which correct for both chromatic and spherical aberration (an imperfection in the lens that results in a blurred image). Reflecting telescopes can also be divided into two categories: those with a catadioptric design, which combines a lens and a mirror to gather and focus light, and those with a classical Newtonian design, which uses only mirrors.

The most important factor in choosing a telescope is its aperture, or the diameter of its objective lens or mirror. The larger the aperture, the more light the telescope can gather and the sharper the image will be. However, larger telescopes are also more expensive and bulky, so it is important to choose one that is appropriate for your needs.

How to choose the right telescope for your needs?

When choosing a telescope, the first thing you need to consider is what you want to use it for. Are you interested in viewing planets and stars, or do you want to be able to see distant galaxies? If you only plan on viewing objects in our solar system, such as the moon and planets, then a small telescope with a low magnification will suffice. However, if you want to be able to see more distant objects, such as galaxies and nebulae, then you will need a larger telescope with a higher magnification.

The next thing you need to consider is the size of the telescope. The larger the telescope, the more light it can gather and the sharper the image will be. However, large telescopes are also more expensive and bulky, so it is important to choose one that is appropriate for your needs. If you only plan on using the telescope occasionally, or if you need to transport it frequently, then a smaller telescope might be a better choice.

Finally, you need to consider the type of telescope. There are two types of telescopes: refracting telescopes, which use lenses to gather and focus light, and reflecting telescopes, which use mirrors. Refracting telescopes are further divided into two categories: those with achromatic lenses, which correct for chromatic aberration (an imperfection in the lens that results in an inability to focus all colors to a single point), and those with apochromatic lenses, which correct for both chromatic and spherical aberration (an imperfection in the lens that results in a blurred image). Reflecting telescopes can also be divided into two categories: those with a catadioptric design, which combines a lens and a mirror to gather and focus light, and those with a classical Newtonian design, which uses only mirrors.

How to set up and use your telescope?

Once you have chosen the right telescope for your needs, it is important to learn how to set it up and use it properly. Setting up a telescope can be a simple or complex process, depending on the type of telescope you have. Refracting telescopes typically require the least amount of setup, while reflecting telescopes often require more time and effort. Catadioptric telescopes usually fall somewhere in between.

Before setting up your telescope, make sure you have all the necessary parts and tools. Most telescopes come with instructions that will help you through the process. If you do not have instructions, or if you are unsure about something, there are many resources available online that can help you. Once you have everything you need, follow these steps to set up your telescope:

1. Choose a level, stable surface on which to set up the telescope. A tripod is typically required for stability.

2. If your telescope came with a finder scope, attach it now.

3. Attach the eyepiece to the telescope.

4. Point the telescope in the general direction you want to view.

5. Use the finder scope to locate an object, then center it in the field of view of the eyepiece.

6. Adjust the focus until the image is clear.

Once you have set up your telescope, you are ready to start observing! Remember to be patient and take your time when adjusting the focus. If the image is not perfectly clear at first, keep trying. With practice, you will get better at using your telescope and will be able to see some incredible things!

Posted on

What are the most important properties of a telescope?

The former enables one to see objects at a distance, while the latter allows for a clear image. The size of the aperture directly affects how much light is gathered, and thus how clear the image is. Magnification is usually written as “x” and is the ratio of an object’s apparent size when viewed through the telescope, compared to its actual size. A telescope with a magnification of 10x would make an object appear ten times larger than it actually is. Aperture is usually expressed in terms of millimeters or inches and refers to the diameter of the lens or mirror. The larger the aperture, the more light that can be gathered and the clearer the image will be. There are many other factors that affect a telescope’s performance, such as optical quality, resolution, and stability, but magnification and aperture are the two most important.

There are two main types of telescopes: refractors and reflectors. Refractors use lenses to gather light, while reflectors use mirrors. Both types have their advantages and disadvantages, but in general, reflectors are more powerful and refractors are more portable. There are also hybrid telescopes that combine features of both refractors and reflectors.

Magnification is the ability to make an object appear larger than it actually is. The amount of magnification is written as “x” and is the ratio of an object’s apparent size when viewed through the telescope, compared to its actual size. A telescope with a magnification of 10x would make an object appear ten times larger than it actually is.

Aperture is the size of the lens or mirror in a telescope that collects light

The larger the aperture, the more light that can be gathered and the clearer the image will be. Aperture is usually expressed in terms of millimeters or inches.

Resolution is a measure of how much detail a telescope can see. The higher the resolution, the better the telescope can distinguish between two close objects.

Stability refers to how well a telescope maintains its alignment and focus. A good mount is essential for keeping the image from shaking or moving.

Portability is another important factor to consider, especially if the telescope will be used for travel.

Refractors are usually more portable than reflectors, but there are also hybrid telescopes that combine features of both refractors and reflectors.

The higher the magnification and aperture, the better the telescope will be at gathering light and providing a clear image.

However, keep in mind that the size and weight of the telescope will increase with these features. Make sure to choose a telescope that is within your budget and can be easily transported.

Telescopes can be used for both viewing objects in space and terrestrial viewing

The type of telescope you need depends on your intended use. For example, a refractor telescope is better for terrestrial viewing, while a reflector telescope is better for astronomical purposes.

No matter what type of telescope you choose, be sure to get one with high quality optics. This is the key to getting sharp, clear images. Also make sure the telescope is stable and can be mounted securely. A good mount is essential for keeping the image from shaking or moving. With a little research, you can find the perfect telescope for your needs and budget.

Posted on

What is a Refracting Telescope?

A refracting telescope is a type of optical telescope that uses a lens to gather and focus light. The first refracting telescopes were built in the 17th century, and they remain popular instruments for amateur astronomers and professionals alike.

Refracting telescopes are often called refractors, and they come in a variety of designs, including achromatic refractors, apochromatic refractors, and doublets. Most refractors have an objective lens made of glass, but some use plastic or even metal.

The two most important factors in a refractor’s performance are its aperture (the diameter of the lens) and its focal length (the distance from the lens to the point where the image is brought into focus). A larger aperture allows more light to enter the telescope, which results in a brighter image. A longer focal length results in a higher magnification.

Refracting telescopes are limited by a phenomenon called chromatic aberration, which is caused by the different wavelengths of light being refracted (bent) by different amounts as they pass through the lens. This results in an image that is not perfectly sharp and may appear to be surrounded by a halo of color. Chromatic aberration can be minimized by using an achromatic lens, which is made of two or more lenses of different materials that cancel out each other’s aberrations.

Apochromatic refractors use special glass lenses that are nearly free of chromatic aberration. These telescopes are expensive, but they provide the best image quality of any type of telescope.

Doublets are two lenses mounted in a single barrel. They are less expensive than apochromats, and they typically have very good image quality.

Refracting telescopes require more maintenance than other types of telescopes, because the lenses must be regularly cleaned and aligned. They are also more susceptible to dew and condensation than other types of telescopes, so they must be kept in a dry environment. But despite these drawbacks, refractors remain popular among amateur astronomers and professionals alike for their excellent image quality.

Advantages of using a refracting telescope

There are several advantages to using a refracting telescope:

– The image quality is typically very good, due to the lack of optical aberrations.

– They are relatively easy to align and maintain.

– They are less susceptible to dew and condensation than other types of telescopes.

Disadvantages of using a refracting telescope

There are also some disadvantages to using a refracting telescope:

– They are more expensive than other types of telescopes.

– They require more maintenance, as the lenses must be regularly cleaned and aligned.

– They are more susceptible to dew and condensation than other types of telescopes.

Who should use a refracting telescope?

Refracting telescopes are a good choice for anyone who wants a high-quality image and is willing to pay a bit more for it. They are also a good choice for anyone who wants a relatively easy-to-use and easy-to-maintain telescope. However, they are not the best choice for anyone who wants a telescope that is portable or easy to set up.

Where can you find a refracting telescope?

Refracting telescopes are available for purchase from a variety of retailers, both online and offline. You can also find them at some science museums and planetariums.

How much does a refracting telescope cost?

Refracting telescopes can range in price from a few hundred dollars to several thousand dollars, depending on the quality of the optics and the size of the telescope.

What are some of the best-known refracting telescopes?

Some of the best-known refracting telescopes include the Hubble Space Telescope, the James Webb Space Telescope, and the Keck Observatory Telescopes.

Posted on

How Far Can a Telescope See?

A telescope is an optical instrument that makes distant objects appear magnified by collecting and focusing light. The first telescopes were simple refracting telescopes, which used a lens to gather and focus light. Reflecting telescopes, which use mirrors to collect and focus light, were developed in the 1600s and are now the most common type of telescope.

How does a telescope work and how far can it see?

Telescopes gather light and make distant objects appear brighter and closer. The amount of light a telescope can collect is limited by its aperture, or the size of its lens or mirror. The larger the aperture, the more light the telescope can gather and the farther it can see.

Most telescopes can see objects that are hundreds or even thousands of light-years away. The farthest objects that have been seen by telescopes are galaxies, which are billions of light-years away.

What are some of the most popular telescopes on the market today and why are they so popular?

Some of the most popular telescopes on the market today are Dobsonian telescopes, which are known for their large apertures and low prices. Other popular types of telescopes include refracting telescopes, which use lenses to gather light, and reflecting telescopes, which use mirrors to collect and focus light.

Telescopes can also be classified by how they are mounted, such as altazimuth or Dobsonian mounts. Altazimuth mounts are the most common type of telescope mount, while Dobsonian mounts are designed for use with large telescopes.

What types of objects can you see with a telescope and how do you find them?

There are many different types of objects that you can see with a telescope. Some of the more popular objects include planets, stars, nebulae, and galaxies. You can find these objects by using a star chart or by using an online database such as the Smithsonian Astrophysical Observatory’s Telescope Data Center.

What are some of the best ways to care for your telescope and ensure that you get the most out of it for years to come?

Some of the best ways to care for your telescope include storing it in a clean, dry place, keeping it covered when not in use, and avoiding pointing it at the Sun. You should also regularly check for loose screws and dust on the lenses or mirrors. Following these simple tips will help you get the most out of your telescope for years to come.

How do you choose the right telescope for your needs, and where can you go to buy one if you’re interested in getting one yourself?

The best way to choose the right telescope for your needs is to think about what you want to use it for. If you’re interested in observing planets, you’ll need a different telescope than if you’re interested in observing galaxies. Once you know what you want to use your telescope for, you can narrow down your choices and find the perfect one for your needs.

There are many places to buy telescopes, but some of the best include online retailers like Amazon and Telescope Warehouse. You can also find telescopes at many local stores, such as department stores and camera shops.

No matter where you buy your telescope, make sure that you take the time to learn how to use it properly before using it to observe the night sky. There’s nothing worse than missing out on a once-in-a-lifetime event because you didn’t know how to use your telescope!

Posted on

How do I build a telescope at home?

What you need to build a telescope

-A large piece of cardboard

-A smaller piece of cardboard

-Tape

-Scissors

-Magnifying glass or lens (optional)

How to make the telescope tube

1. Cut a large circular piece out of the larger piece of cardboard. This will be the main tube of your telescope.

2. Cut a smaller circle out of the smaller piece of cardboard. This will be the end of your telescope tube (where you look through).

3. Tape the small circle to one end of the large circle to form a tube shape.

4. If you want, you can tape a magnifying glass or lens to the other end of the tube (this will help you see things better).

How to make the eyepiece

1. Cut a small rectangular piece out of the smaller piece of cardboard.

2. Fold this rectangle in half lengthwise, and then tape it together to form a long, thin tube.

3. Tape one end of this tube to the side of the telescope tube (near the end where you look through). This will be your eyepiece.

How to mount the telescope

1. Find a place to mount your telescope where it will be stable and not move around.

2. Tape the other end of the telescope tube (the end opposite the eyepiece) to the chosen surface.

3. You may need to adjust the position of the eyepiece tube in order to get a clear view through the telescope.

4. Once you have everything positioned correctly, your home-made telescope is ready to use! Enjoy exploring the world around you!

How to use your new telescope

1. Find a place where there is not much light around (like at night time).

2. Look through the end of your telescope and find something far away to look at (like a star).

3. Move the telescope around until the object comes into focus.

4. Enjoy your new view!