Posted on

How to Verify Telescope Mount Stability Before You Blame the Optics

How to Verify Telescope Mount Stability Before You Blame the Optics

Ensuring Telescope Mount Stability: Key Steps Before Blaming Optics

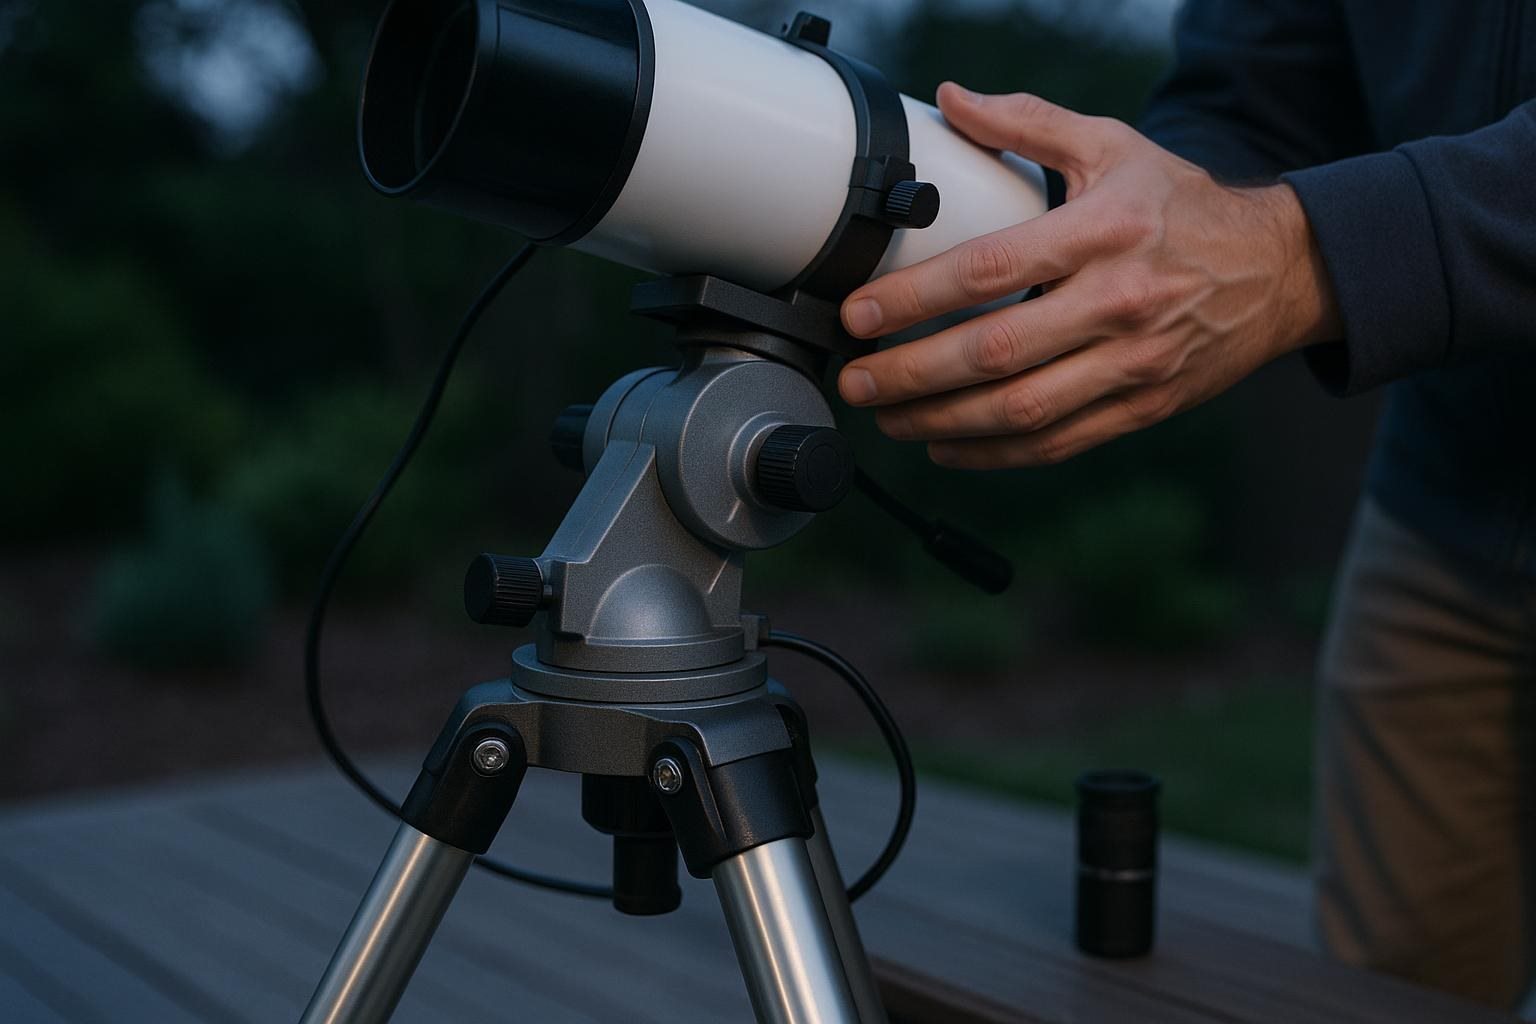
A image through your telescope can quickly turn frustrating when it wobbles at the touch or when tracking a moving celestial body. Than dismissing the quality take the time to investigate the stability of the mount and other components. Establishing the source of instability can prevent upgrades. Here's how to identify the root cause of your telescopes movement.

Distinguishing Between Shake and Alignment Issues

To begin assess how long it takes for the image to stabilize after touching the focuser. Gently tap the focuser then remove your hand and observe the image. You're looking for patterns, in the movement-does it bounce, sway or vibrate before settling?

Once you have this baseline change the angle of your telescope. A tripod might feel steady when fully closed. Once adjusted to angles it can reveal weaknesses. A lower target might expose flex in the mount that high angles hide.

If the focus seems soft followed by vibrations that settle after removing contact then your issue lies with the mount-or potentially the alignment-rather than the eyepiece quality.

Identifying the Vulnerable Links

Think of your stability as a chain, where every link matters: the tripod feet, the leg locks, the spreader and the mount head all need to be fitted. Inspect each component carefully. Sometimes a loose clamp or knob could mistakenly signal a tripod.

With the telescope firmly supported, apply side pressure to the tube. You don't need to exert force; enough to see if there's any movement. Monitor if the wobble originates from the legs the mount head or the connections related to the tube. Having an additional pair of eyes can help here; you could record a video from the side to diagnose the problem accurately.

Tightening up is a starting point. Don't go overboard. Over-tightening can cause damage. Yield a sense of security. Instead be sure to lock mechanisms. If tools are required they should be used as per manufacturer guidelines.

Testing Balance Before Tracking Performance

Before jumping to conclusions about the tracking performance check for balance. A mounted telescope must be adequately balanced to facilitate movement. When using a mount make sure all components-including the eyepiece or camera-are attached during this test.

With power off and the mount secured, engage the clutch according to the instructions. Avoid letting the tube and counterweight swing instead move them in adjustments. Depending on the load and configuration a slight imbalance might be beneficial so refer to your manual for guidance.

Signs of imbalance include motion or noises that suggest stress on the motor. If the mount is straining, best to recalibrate by reducing load and ensuring no cables interfere with movements.

Verifying Tracking Accuracy with a Steady Target

Before engaging at magnifications ascertain if your mount can track a target effectively. During daylight center a fixed object. Monitor its movement as you disengage tracking. This allows you to confirm that the telescope is aligned and that any movement isn't just due to components.

If utilizing tracking adhere to the mounts calibration procedures carefully. Record your settings. Ensure the tripod is level. Change variables one at a time-this will help isolate the cause of any tracking issues. Relying on a test can be misleading; set up accurately each time to discern issues from inaccurate setups.

Additionally keep your expectations clear. When observing visually minor adjustments are acceptable. For astrophotography you'll need stringent tracking. A mount suitable for viewing might not suffice for long-exposure imaging.

Using Your Findings for Equipment Comparison

When considering a telescope or mount incorporate the stability of the mount into your decision-making process. Ask yourself: What objects will you focus on? How frequently will you transport the setup? Will you require tracking. Can you manage without it? Keep in mind that while lighter mounts are easier to carry they can also be more responsive to disturbances whereas sturdier models may be less portable but offer stability.

To aid in your evaluation compile a checklist during comparisons. When inspecting second-hand equipment:
– Does the support stabilise quickly after touching the focuser?
– Are all locking mechanisms secure after adjustments?
– Does the mount maintain stability at various heights and angles?
– Can it balance the actual load without forcing the mechanical parts?
– Is the tracking operation smooth, free from cable entanglements?
– Is the mount appropriate, for the type of work you intend to do?

Remember, don't rely on specifications. While load capacity ratings are useful they rarely indicate how a mount will perform in practice. If a mount fails your stability tests pinpoint the issue of outright dismissing the telescope. Often enhancing support optimizing accessory weight or simply adjusting your observing goals may yield the results you need without an overhaul of your equipment.
Posted on

Clarity, Field of View and Eye Relief: What Matters in Real Conditions: The Details That Matter Most

telescopereview org 01

A planned observing session can unravel over a small mismatch: the view is sharp in the center but cramped at the edges, a target drifts away before you can study it, or glasses keep your eye too far from the eyepiece. The solution is not automatically a more expensive optic. Identify the compromise causing the trouble, then check it under the conditions in which you actually observe. That makes eyepiece selection more useful than chasing isolated specifications.

Start with the observing problem, not the eyepiece label

An eyepiece changes the telescope's magnification, the amount of sky visible, and the position from which your eye can comfortably see the full image. These effects interact. High power may reveal fine detail, but it also makes hand-guided tracking harder and exaggerates mount vibration. Lower power is easier to acquire and follow, yet a small target may remain too small to examine properly.

Describe the failure in plain terms. Are you losing the object while centering it? Is detail visible only during brief moments of steady air? Does the view look sharp until you move your eye slightly? Do you need glasses because of astigmatism, or simply prefer to keep them on? Each answer points to a different priority.

The useful question is not "Which eyepiece is best?" but "Which limitation do I need to remove first?"

Clarity has more than one meaning

Telescope eyepiece clarity involves several qualities. Center sharpness concerns detail where you place the target. Edge performance concerns how well stars and other points remain defined away from the center. Contrast affects how easily faint structure separates from the background. Scatter and glare can make bright objects uncomfortable even when the central image appears focused.

Atmospheric steadiness can hide these differences. On a turbulent night, stars shimmer and planetary detail comes and goes, so changing eyepieces repeatedly can produce false conclusions. Let the telescope reach outdoor temperature, focus carefully, and compare views of the same target without changing several variables at once. If possible, use a bright star to check focus and edge behavior, then a more demanding target to assess contrast and detail.

Check your own eye position as well. A black crescent, kidney-shaped shadow, or sudden loss of the image when your head moves slightly may indicate an eye-placement issue rather than poor optical sharpness. Some designs are more forgiving than others, especially at shorter focal lengths.

Field of view is a working feature

Field of view affects how easily you find, frame, and follow an object. A wider apparent field can make a moving target feel less urgent because more sky remains around it. It can also help with large star fields, extended nebulae, and targets that are difficult to locate at high magnification.

The widest view is not automatically preferable. Wider designs may be heavier, more expensive, or less forgiving of off-axis alignment in a particular telescope. If the mount does not track, a generous view can be genuinely useful. On a tracking mount, the benefit may be less about keeping an object centered and more about composition and orientation.

Think about the true patch of sky visible through the telescope, not just the apparent-field number in a catalogue. Magnification, eyepiece design, and the telescope's focal length work together. For planning, remember that increasing magnification reduces the sky shown, while a wider apparent field can offset some of that loss. Exact results depend on the instrument and eyepiece, so verify the combination rather than assuming a label tells the whole story.

Eye relief decides whether viewing is comfortable

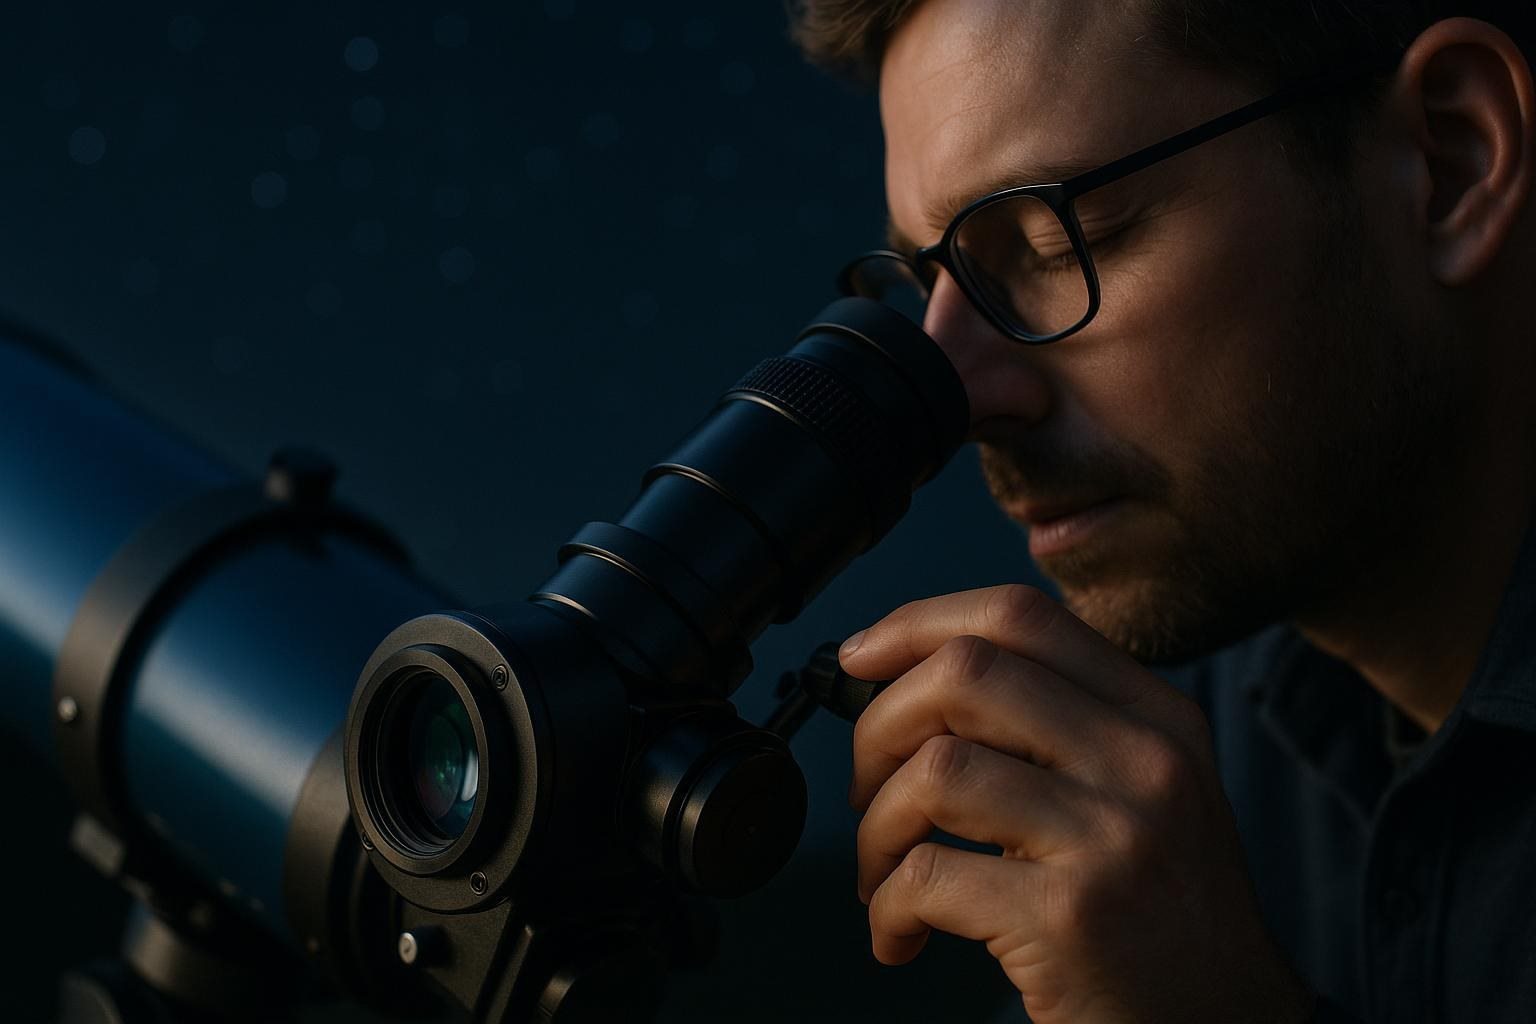
Eye relief is the usable distance between the eyepiece and the position your eye needs for the full field to appear. Too little can force glasses wearers to press close or remove their glasses. Too much can make the view sensitive to small head movements unless the eyecup and positioning are well controlled.

If you observe with glasses, treat eye relief as a practical requirement, not a luxury. Catalogue figures may be measured in ways that do not represent the comfortable distance available with the eyecup raised, so look for independent measurements or test the eyepiece when possible. Glasses thickness, frame shape, and prescription also affect the result.

Without glasses, shorter eye relief is not automatically a problem. Some observers prefer a close, stable position; others find longer relief easier during extended sessions, particularly in cold weather or when sharing the telescope. Choose the option that lets you see the whole field without hovering tensely over the ocular.

A simple verification routine before committing

When comparing eyepieces, use the same telescope, target, diagonal, and observing conditions. Change one eyepiece at a time, refocus each, and give your eye a moment to settle. Do not judge only the first impression; comfort and ease of use become clearer after several minutes.

Use this checklist:

– Can you acquire the target without excessive searching?
– Is the center sharp after careful focusing?
– Does the edge matter for your intended targets and mount?
– Can you see the full field while wearing your usual glasses?
– Does the view remain stable when you move your head slightly?
– Is the size and weight sensible for your focuser and balance?
– Does the magnification suit the night's steadiness and your tracking method?

Consider the whole observing chain. A heavy eyepiece may shift balance. High power may expose flaws in alignment or mount stability. A narrow field may be perfectly workable for a centered, tracked planet but frustrating for manually locating a faint object.

Eyepiece selection is therefore conditional. Choose the combination that matches your targets, mount, eyesight, and patience, then verify it under real observing conditions. Specifications narrow the options; your ability to focus, frame, and comfortably hold the view determines whether the choice works.